Great pizza, I've decided, is homemade. It's easy, has exactly the toppings you want, is healthier, cheaper and it almost takes less time to make your own than order in. I love our homemade pizza, especially our crust recipe, which has taken a bit of tweaking to find the perfect recipe. Sure, you can by the jiffy pizza crust mix in a box, but it never makes enough and is only mediocre in taste. Sure, you can by those Boboli things, but seriously, that is not pizza crust. Making pizza crust from scratch is easy my friends, I promise!
Here is the recipe, but you have to pay attention to my directions, you can't just throw it all together at once....
1 package of yeast or 2 1/4 tsp yeast (I've found buying the whole jar is cheaper in the long run than the packets, but I understand it is a commitment. Start with the packets, if it feels easier.)
 1 cup warm water (105 degrees to 115 degrees)
2 1/2 cups all purpose flour (A note on flour: We've used regular white flour mixed with wheat before, about half of each and it has worked great. All wheat doesn't work so well, but the Ultraflour I've been using from Costo, works just as well as all white flour does)
2 Tablespoons oil (I use olive oil)
1/2 teaspoon salt
1/2 teaspoon sugar
First, measure the cup of water and check the temperature with a thermometer. Now, pour out 3/4 cup of the water into your mixing bowl. I use a stand mixer with the dough hook attachment. Mix your yeast and the 1/2 tsp sugar into the 1/4 cup water, using a whisk and let stand. While its standing, it will get foamy, that is good. You can leave it while you measure the rest of the ingredients into the mixing bowl with the water. Then, pour the yeasty water into the bowl and mix on lowish speed until it has come together into a doughy ball.


Turn on the oven to preheat, you want it at 425 degrees.

While the dough is rising, you can pull together your toppings. You can use whatever toppings you normally like or use what is left in your frig and make a "leftover" pizza. We typically use the same red sauce, shredded mozzarella cheese (you can buy it in bulk and freeze what you dont' use in 2c portions), pepperoni, Italian sausage, artichokes, mushrooms (canned works best), pineapple, olives, green peppers, onion, garlic, sometimes pesto instead of red sauce, cooked chicken, feta cheese, peppercinis, roasted red pepper, ham, beef...the list goes on and on. We like it all and so we usually mix it up every time depending on what is in the frig. If you use your imagination you can make a pretty inexpensive pizza. We like to chop things into smaller pieces, makes it easier to spread it evenly over the pizza.
Okay, now that the dough has risen about 20 minutes, you need to prep your pans. We have a wonderful pizza pan that Erik got long ago during his pizza days, which works perfectly, but you can also use cookie sheets (the kinds with edges) or a pizza stone if you have one. You'll want to grease the pan. We use a little bit of butter on a paper towel and just smooth over the whole bottom and sides. It's not swimming in butter, but it works and has a nice flavor. You could try Pam spray, but I highly suggest butter.
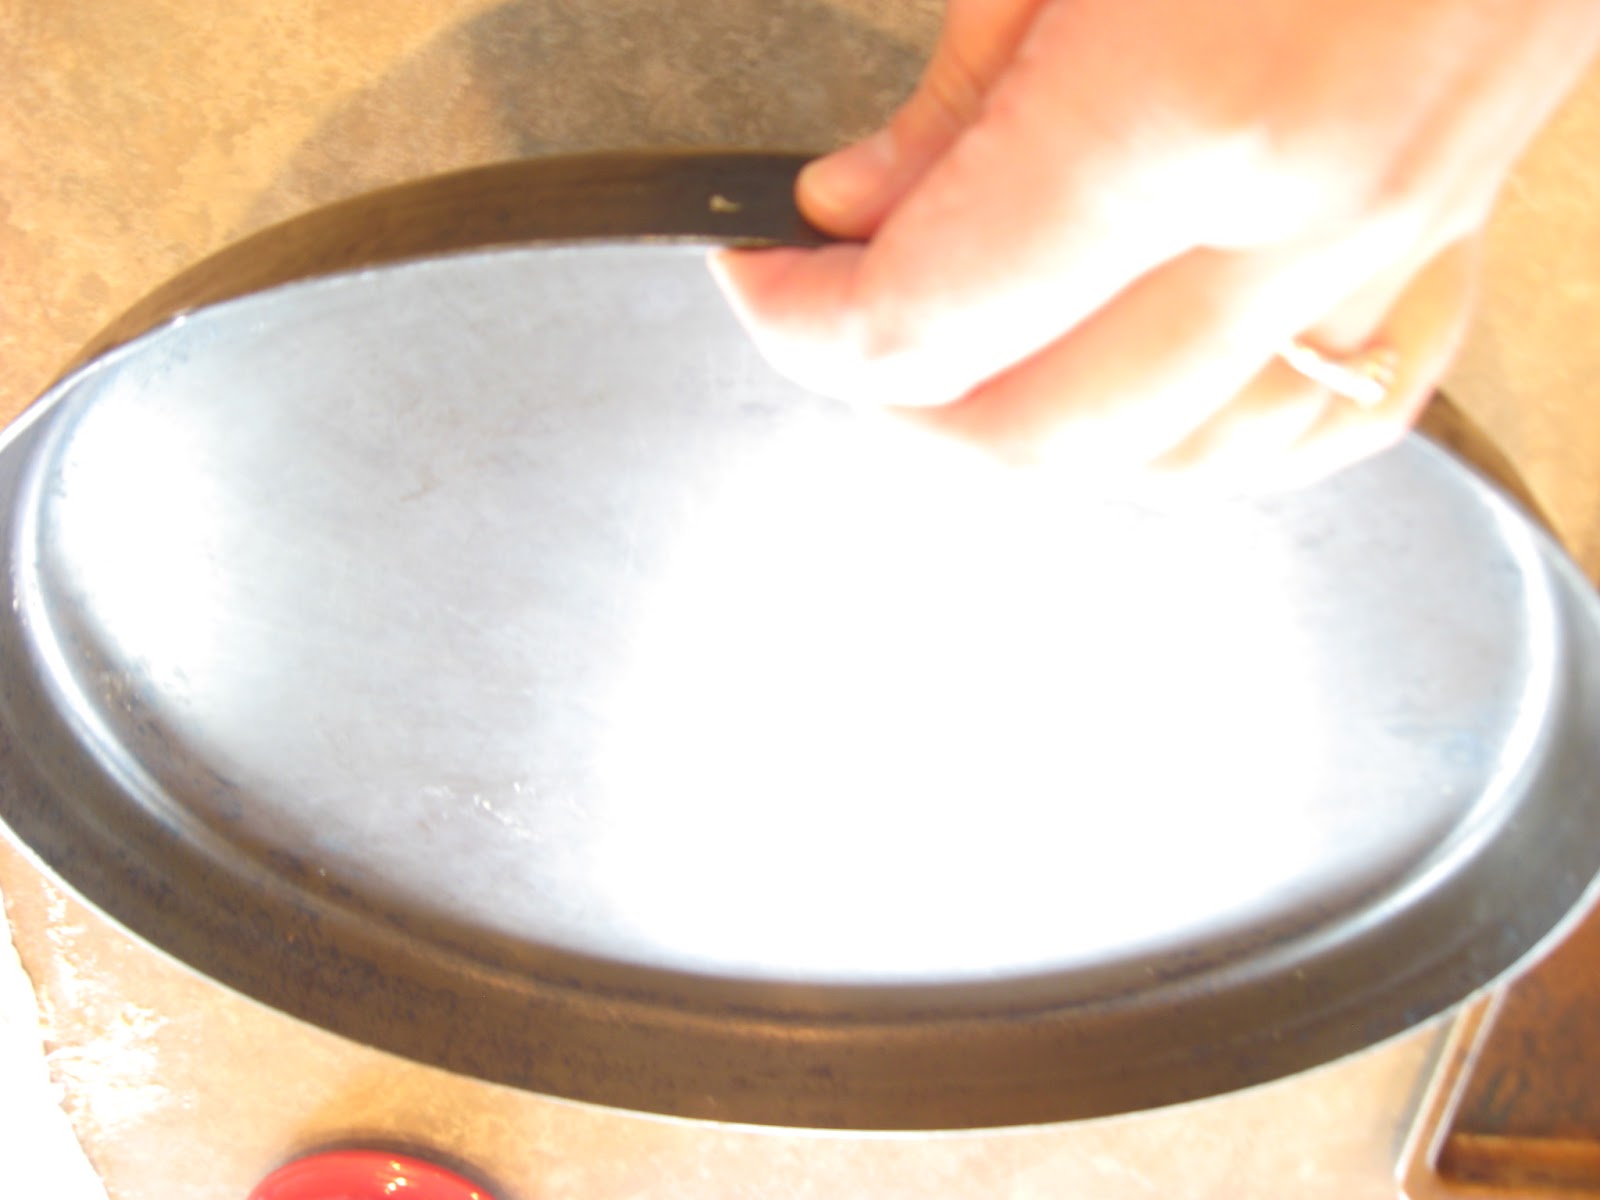
Our special pizza pan.

A normal cookie sheet and a paper towel with some butter.
Then, take your dough and plop it down onto one pan. One batch of dough makes enough for about a 9x13 pan. I don't recommend doubling the dough batch, its hard on the mixer. Do one at a time. But even doing 3 batches of dough only takes me 10 minutes or so.

Using your hand or fist, press and spread the dough out over the pan and up the edge to make a crust. If you find yourself making holes in the dough in order to stretch it over the whole pan, let it rest a minute, it will rise more and then you can continue pressing it.


Once that is done, use a fork and poke holes all along the dough. If you don't, you will have dough bubbles.

If you aren't baking them right then, like if you are prepping dough in the day for dinner later that night, cover with saran wrap and refrigerate the plain dough. Top it with sauce and etc only right before you bake it!

The crust before sauce and toppings.
Then, spread your sauce of choice. Not too much, but just enough to cover the dough. Next, we do a thin layer of cheese. Erik has this trick where you shake a little over the sauce, then you can tip the pan to move the free cheese onto a spot with less, kind of how you shake the flour over a cake pan when greasing and flouring for a cake. (I hope that makes sense!)

See the little dollops of sausage?

Topping pizza is a great job for kiddos!
After you have your pizza all topped, slide it into the oven for about 10 minutes. Then check it, slide a spatula up under the crust and look at the bottom to check for doneness. If it looks done and slightly brown, and the edges of the crust are brown and the cheese is melted, chances are its done. If not, cook another 5 minutes or so and check again.

We like to mix up the toppings...

Once its done, pull it out and slice it up and enjoy! We like ours topped with a bit of Parmesan cheese, fresh tomatoes and jalapenos. (I'm sorry, I was so excited to eat that I forgot to take a picture of the finished product! But trust me, it was heavenly!) Oh, and they make awesome leftovers!!

Looks good and I am sure it is better for ya!
ReplyDeleteI'm so happy to have this, Kendra! I remember you telling me about your crust. Our usual is to make the dough in the breadmaker, but sometimes I just don't leave enough time for it. This will be fun to try!
ReplyDeleteAwesome! I've tried several pizza dough recipes and they all taste like warm cardboard. Or at least how I imagine warm cardboard would taste.
ReplyDeleteNow I'm inspired to try homemade pizza again!
Kate (www.deliciousaspie.blogspot.com)